Tutorial
This tutorial will walk you through creating a blog application.
The code for this part of the tutorial can be found in the Rhino Examples
Rhino was designed to support multi-tenancy by default, which is provided by the organizations module
this tutorial follows without that module, but the tutorial for using the module following the same blog app is provided here as well.
we highly recommend using the organizations module right of-the-bat even if the apps are not multi-tenant to avoid unexpected challenges later on.
Prerequisites
Ensure you have followed Getting Started guide to set up your development environment.
Data model
The following data model will be used for this tutorial.
Every blog has a category and a series of blog posts
The user model is provided by Rhino.
Create the models and database schema
Generate the models and database schema for the application
- Docker
- Local
docker compose run --rm backend "rails g model category name:string"
docker compose run --rm backend "rails g model blog user:references title:string published_at:datetime category:references"
docker compose run --rm backend "rails g model blog_post blog:references title:string body:text published:boolean"
docker compose run --rm backend "rails db:migrate"
rails g model category name:string
rails g model blog user:references title:string published_at:datetime category:references
rails g model blog_post blog:references title:string body:text published:boolean
rails db:migrate
These are standard rails commands. See the Rails Guides for more information.
Configure the models
Update the model code files to extend the associations, validations and Rhino configuration for the model files as highlighted below
Category
class Category < ApplicationRecord
  has_many :blogs, dependent: :destroy

  # Rhino specific code
  rhino_owner_global

  validates :name, presence: true
end
rhino_owner_global indicates there is no owner for this model. It is a global resource.
Blog
class Blog < ApplicationRecord
  belongs_to :user
  belongs_to :category
  has_many :blog_posts, dependent: :destroy

  # Rhino specific code
  rhino_owner_base
  rhino_references [:user, :category]

  validates :title, presence: true
end
rhino_owner_base assigns the owner of this model to "base owner", which is the User by default in Rhino
rhino_references includes the related models in the API response
BlogPost
class BlogPost < ApplicationRecord
  belongs_to :blog

  # Rhino specific code
  rhino_owner :blog
  rhino_references [:blog]

  validates :title, presence: true
  validates :body, presence: true
end
rhino_owner sets ownership of this model to another model, in this case the Blog model
Configure the REST API
Update the Rhino configuration so that Blog, BlogPost, are available through the Rest API
- config.resources += ['User', 'Account']
+ config.resources += ['User', 'Account', 'Blog', 'BlogPost', "Category"]
If you don't add the models to the config.resources array, they will not be available through the API.
Seed the database
Rhino provides a per environment way to seed the database. Create a few categories in development to use for blogs (a user was already created in db/seeds/development/users.rb).
# Generate sample categories
3.times do
  Category.create!(name: FFaker::Book.unique.genre)
end
And add the seed data to the database
- Docker
- Local
docker compose run --rm backend "rails db:seed"
rails db:seed
Restart the application
- Docker
- Local
docker compose restart backend
docker compose restart vite
Ctrl-C to stop the backend and
rails s
Ctrl-C to stop the frontend and
npm start
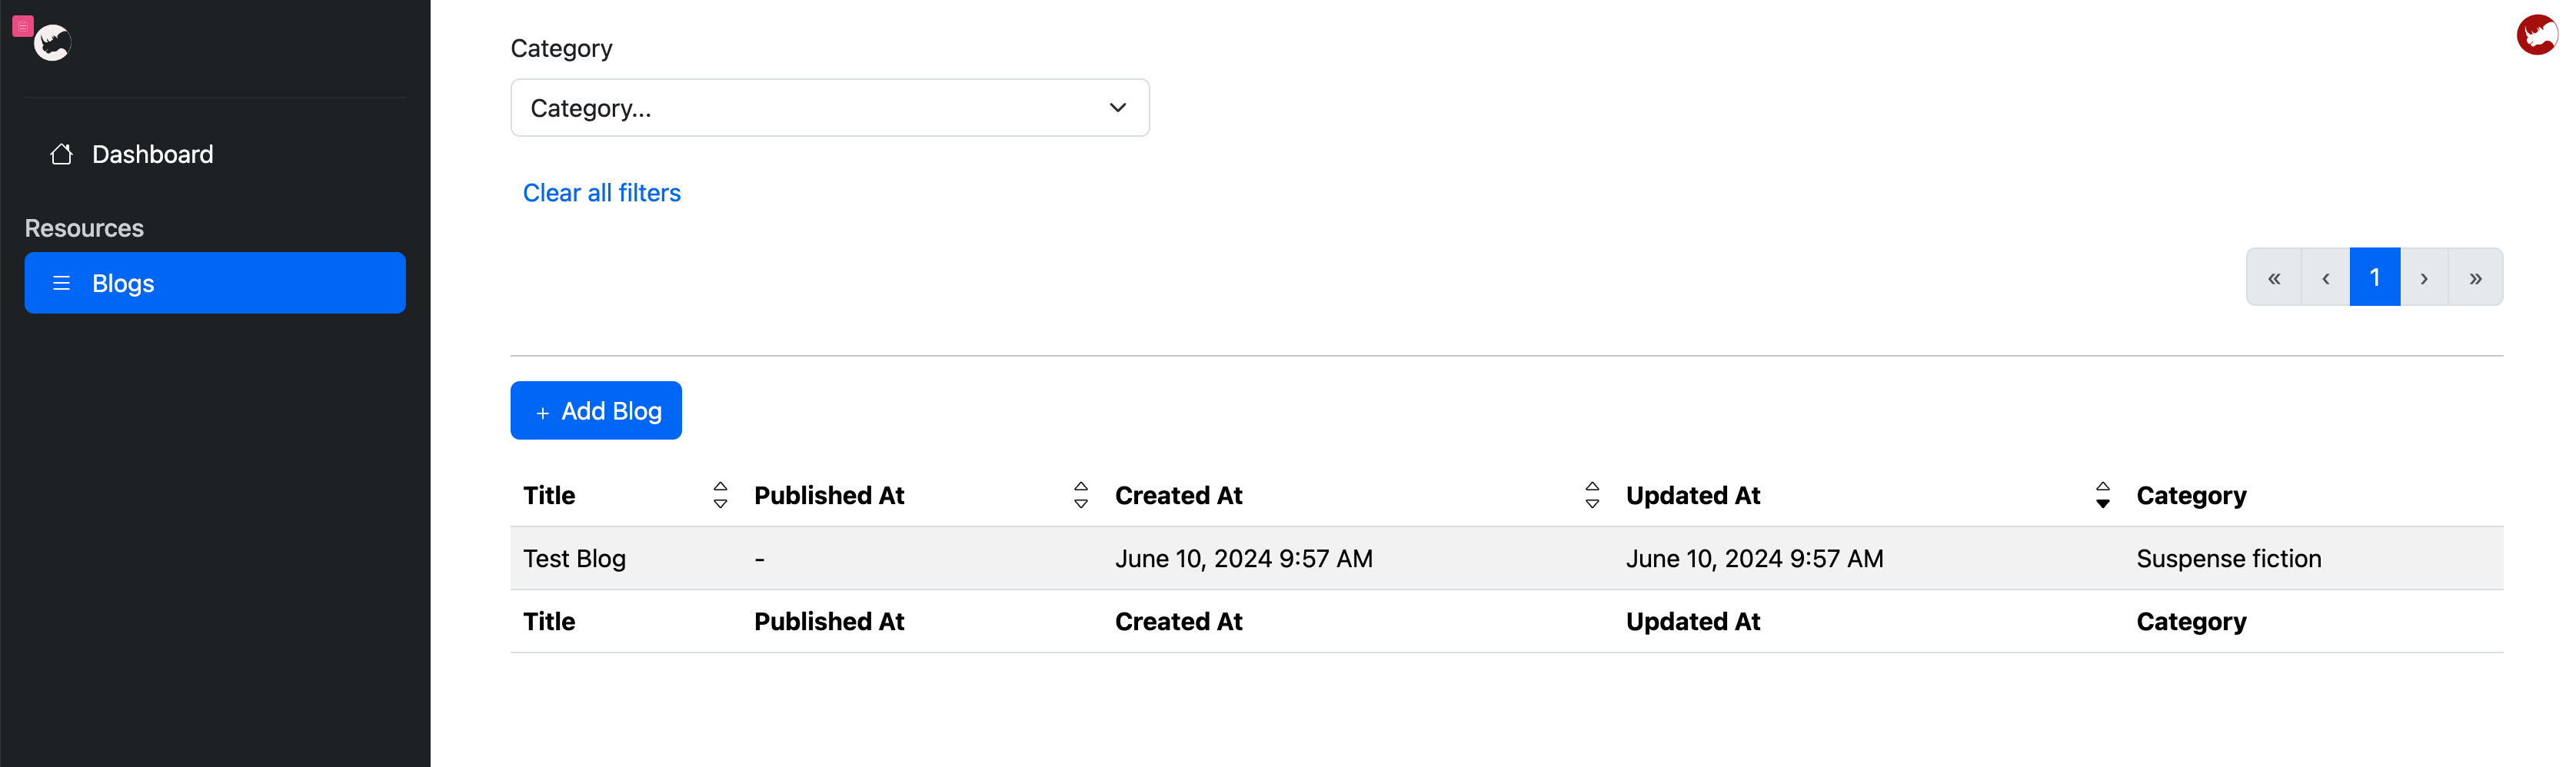
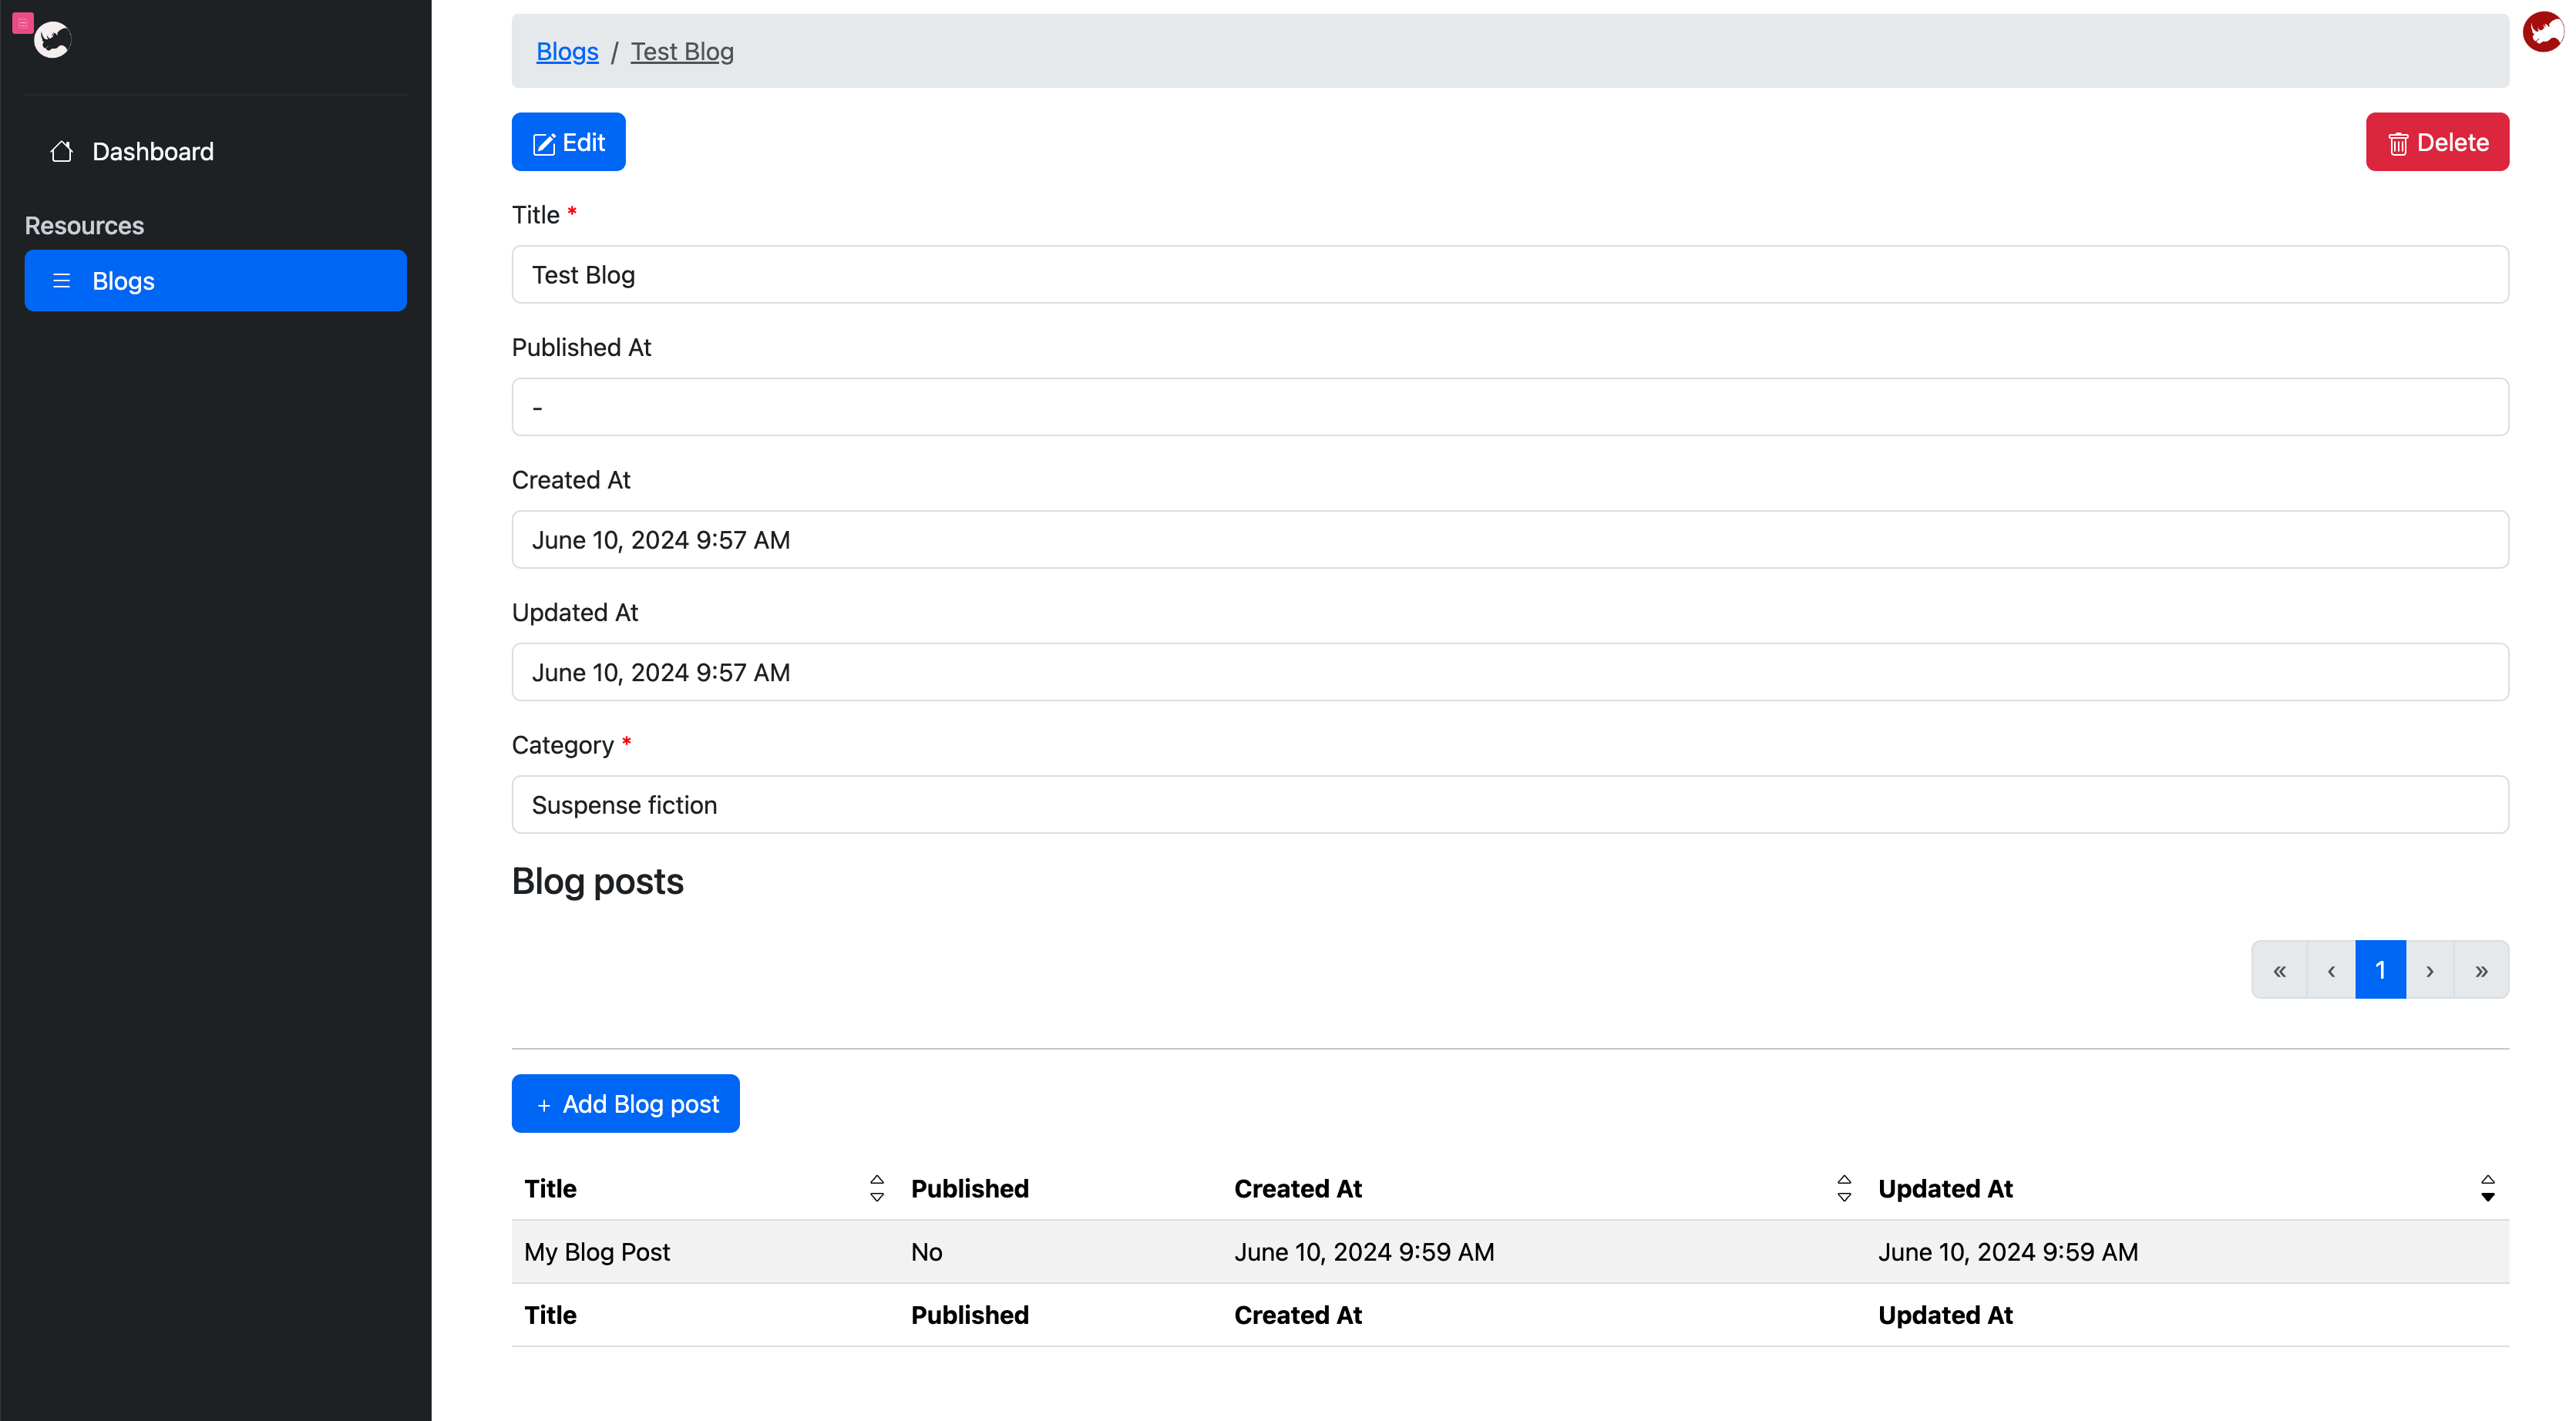
Create blogs and blog posts
Go to http://localhost:3000 in your browser and login to the application with test@example.com and password.

You can now create a new blog and add some blog posts with the automatically generated user interface.